

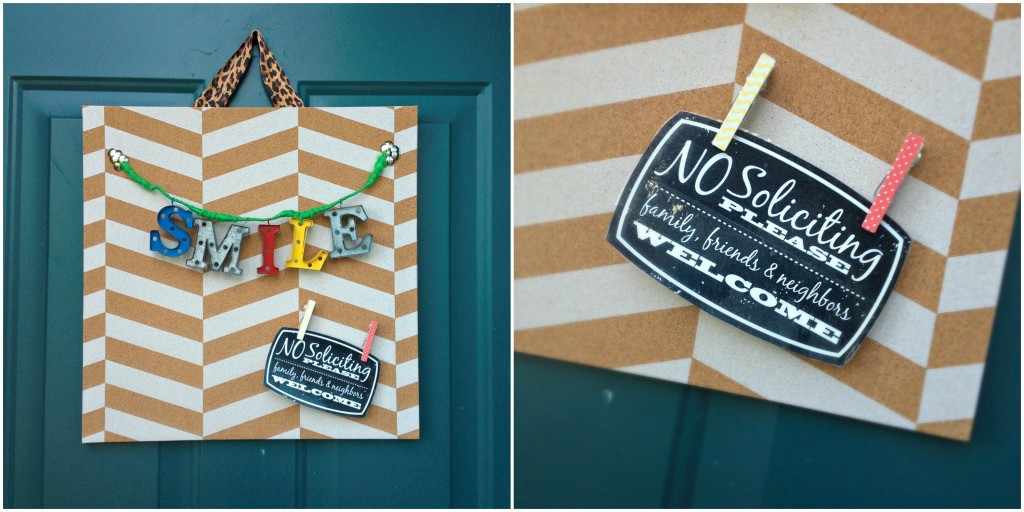
“This cork board sign would look great in a kitchen, mud room, office, kid’s bedroom—anywhere you want to spread some sunny smiles.
I have a confession to make.
I’m one of those people who walks into a store with a list of items needed, and I almost always walk out of the store with SEVERAL extra things that were not on my list. As you can imagine, me walking into a craft store is VERY DANGEROUS. I always tell myself I’ll just run in and grab what I need. An hour later, I’m leaving with bags full, and not the one thing I went into the store for!
I call this the Too-Many-Shiny-Things-So-I-Can’t-Help-Myself-Syndrome. I know several people suffer from this syndrome, so I’m not alone. But lucky for you, my latest foray into the craft store for a bottle of glue, brought you this adorable Easy DIY Chevron Cork Board Sign.
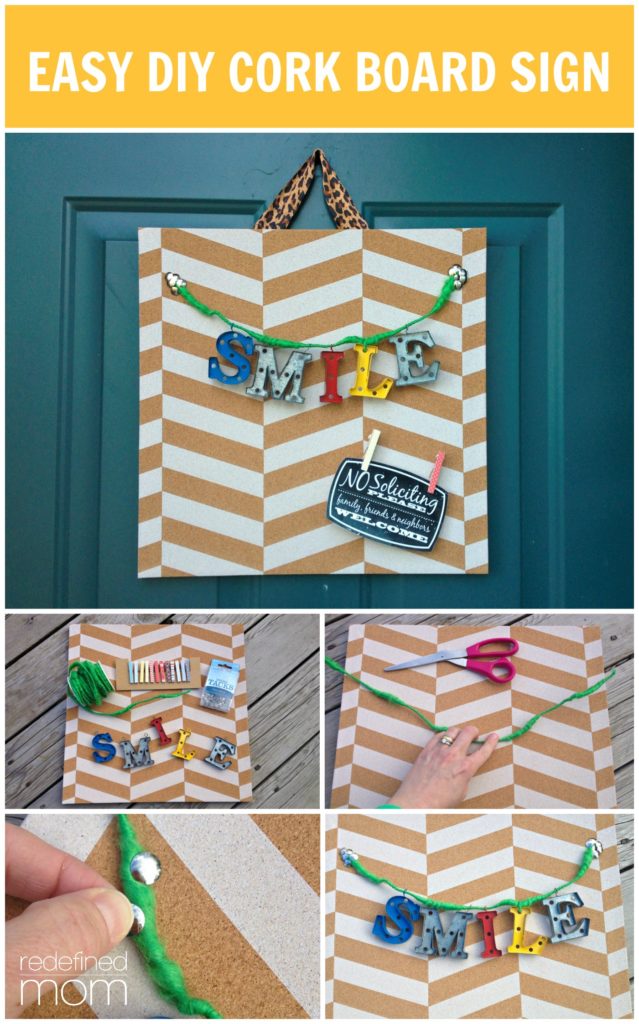
I made my sign for my front door (mine is protected by a storm door), but this cork board sign would look great in a kitchen, mud room, office, kid’s bedroom—anywhere you want to spread some sunny smiles. Not only is it a sign, but a working cork board too. You could even make it as a cool gift and clip some pictures, cash or gift cards to it.
You can’t help but smile when you see this sign. I’m sure your friends and family will feel the same. Good luck and here’s to surprises found when not following your list!
Easy DIY Chevron Cork Board Sign — Guaranteed to Make You Smile!
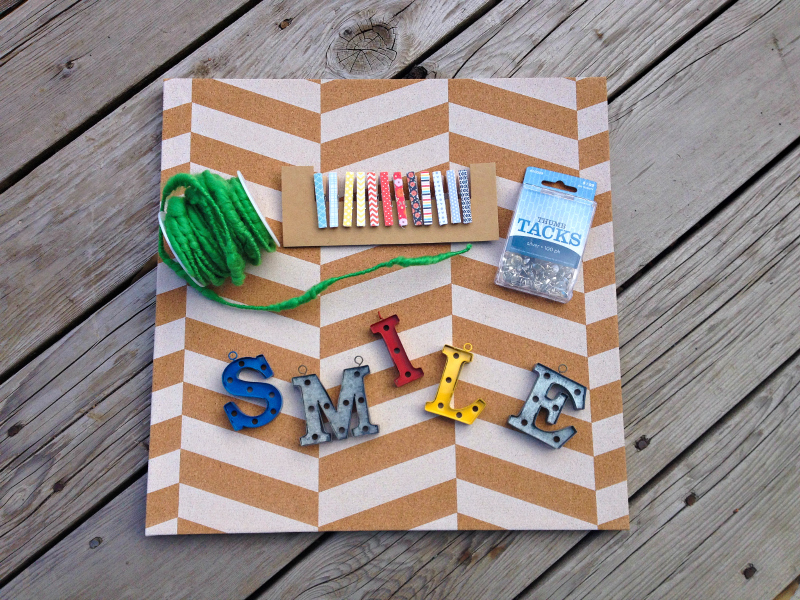
What you will need:
- Small metal letters
- Pre-painted cork board (or plain cork board that you paint yourself)
- Thumb tacks
- Fun ribbon (I used 2 different kinds)
- Small clothes pins (mine were small and already decorated, you can buy plain ones and decorate them yourself)
- Hot glue gun
- Scissors
- A sunny smile
Instructions:
1. My cork board was already painted (wahoo!), but if you bought a plain cork board, paint it first and let it dry.
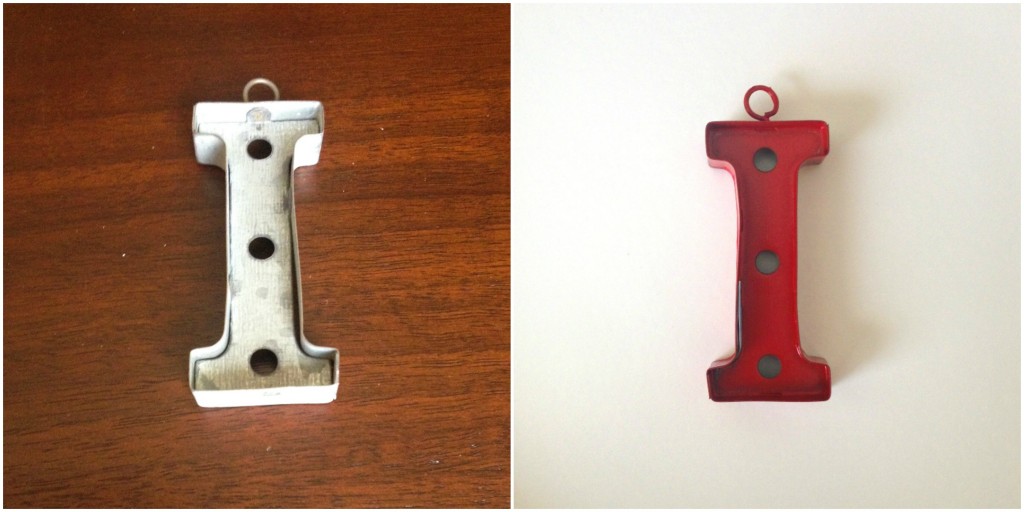
2. Figure out what word you want to spell. I was limited with letters, they had been picked-over, but thought S•M•I•L•E would be cute. My “I” wasn’t the correct color so I painted it red. Voila.
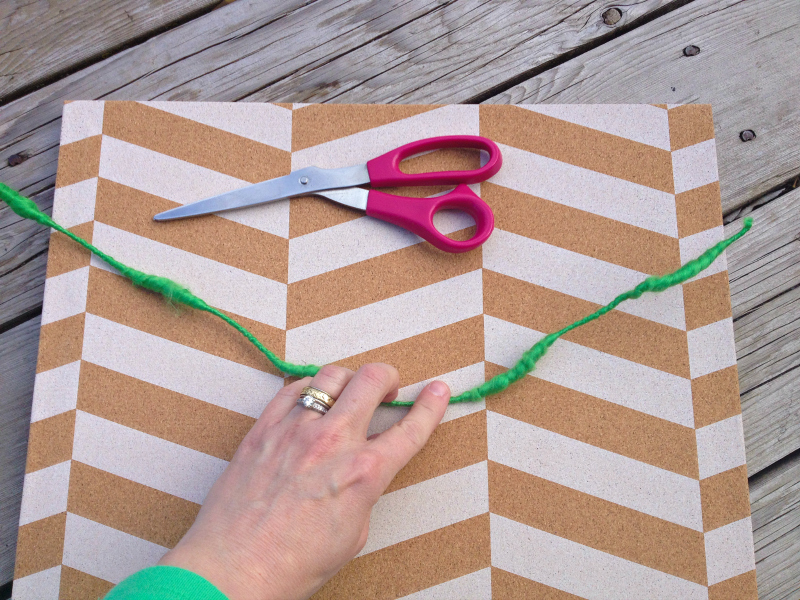
3. Once your board and/or letters are dry if you painted them, then figure out your layout on your board. Lay your ribbon out. Then your letters to figure out spacing and such.
4. String your letters onto your ribbon (I used a cool, funky ribbon that had wire in the middle so it was a bit sturdier) and then using thumb tacks, tack the ends of the ribbon down.
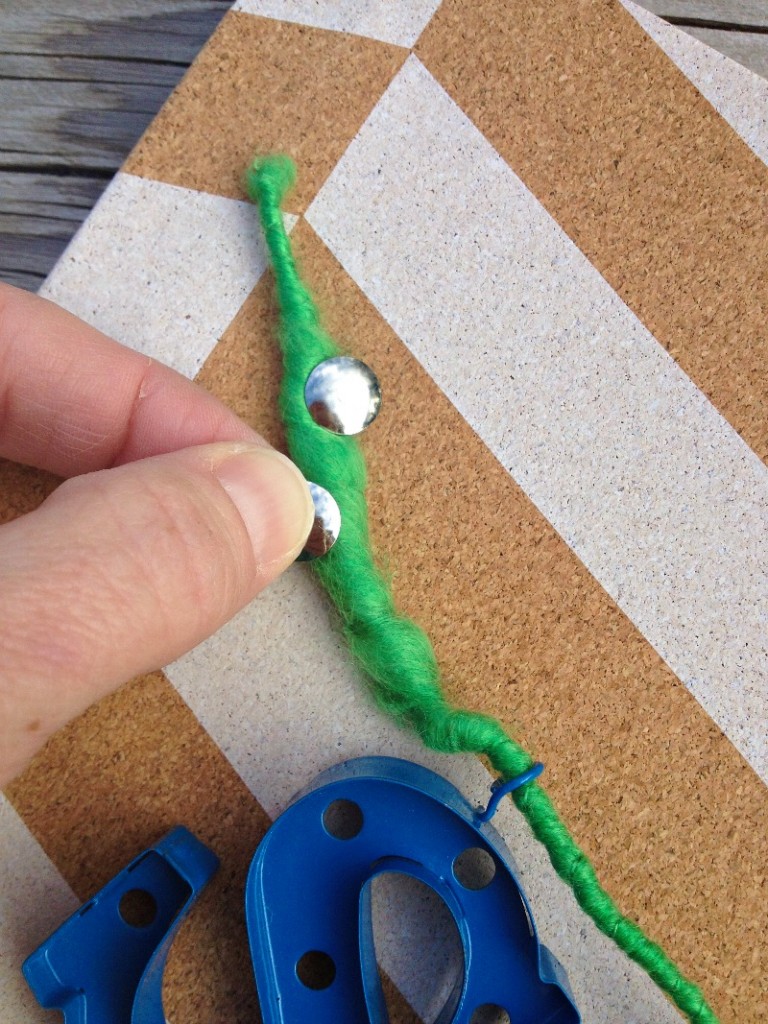
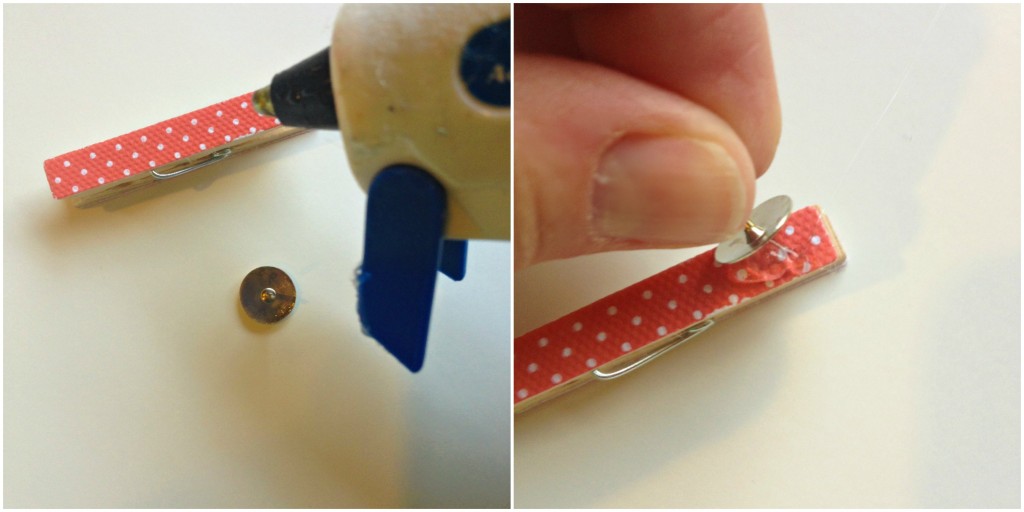
5. You can be finished there, or you can add cute clothes pins to your sign to clip notes or photos to. To make, just hot glue a thumb tack to the back of a clothes pin. My clothes pins were already decorated, but if you bought plain ones, feel free to decorate.
6. Finally, using a fun ribbon hang your sign someplace that will get lots of smiles. Since I’m using my sign on my front door, I clipped a “No Soliciting” sign on it. It’s free, you can find it {HERE}.
Becca Wilkinson has a creative “need” and will do anything to avoid laundry. She writes over at Cul-de-sac Cool about design, DIY/crafts, easy eats, family, funny experiences and of course, motherhood. Becca wants to spread happiness, helpful tips, pretty things and funny experiences throughout the land. She is the proud mother of three boys and married to her college sweetheart. In her past life she was a graphic designer. Becca has learned a lot these past years about juggling boys, blogging, family and suburban life.





Becca- of course I always love reading your posts!! I also love that you said once that you should always include a misspelled word or incorrect grammar in a post because it drums up comments and increases traffic. So, that must be why you said- “…so I painted it red. VIOLA.” Tate plays viola. 🙂 You crack me up- intentional or unintentional- don’t care, it’s still funny. Reely funny. 😉